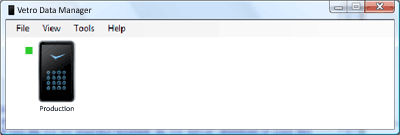
The Vetro Data Manager is a small program that acts as the link between the TimePilot Central software and the Vetro clock when the clock is connected to your local area network. It does other things too:
When Vetro Data Manager is running with your network, employee clock-ins and clock-outs are
sent instantly to the server and can be viewed in TimePilot Central. If Vetro
Data Manager isn't running, the software and the clock can't communicate, so the
clock holds the employee clock-ins and clock-outs in its memory until Vetro Data
Manager is started.

You can see if Vetro Data Manager is running by looking for its icon in your system tray (the area in the bottom right corner of your Windows screen, next to the clock). If you see the image of a small Vetro timeclock (shown at right), then Vetro Data Manager is running.
Starting Vetro Data Manager
You can start Vetro Data Manager several ways:
Transferring changes made in TimePilot Central to the clock
There may be a time you need to make a change to the employee names or ID Numbers in the Vetro clock—perhaps an employee has changed his or her name, or a name has been misspelled. When you make the change in TimePilot Central, you'll be prompted to transfer the change to the clock. You can also manually transfer the change with Vetro Data Manager. Here's how:

Adding another clock to the system
Here's how to add another Vetro clock to your existing system:
