When you complete the setup of TimePilot Central, you'll immediately be taken to the Clock Manager's Setup Wizard.
If you're adding a TimePilot Extreme clock or a TimePilot Vetro clock, you'll choose the model of clock(s) to add and give each clock a name, which will identify it in Clock Manager and in the listing of each transaction in TimePilot Central. Other TimePilot products are handled differently, though all will appear in Clock Manager.
(Don't want to add clocks right now? No problem—you can add them later by clicking the Setup menu in TimePilot Central and "Clock Manager" to start Clock Manager, then, once you're in Clock Manager, click the "Setup" menu and "New Clock Wizard.")
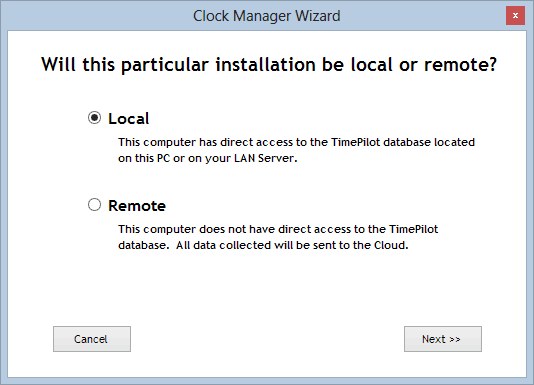
The first screen you see will ask whether your installation will be local or remote.
Not sure where your database is located? Go to the "Help" menu at the top of TimePilot Central and click "About." The location of the database is listed next to the words, "Data Path:"
Your TimePilot database is located on this PC or on a network server connected to this PC. For setup instructions, click here.
If you're planning to add Remote sites and link to them using TimePilot Enterprise Edition's Cloud feature, you have a few more steps to go. Click here for complete instructions.
Your TimePilot database is located on a PC or server that is not part of your local area network. This option would typically be used by a branch office or remote location that would need to send its clock-in and clock-out data to a main office for processing. Generally, this PC will not have TimePilot Central installed on it. For setup instructions, click here.